Guides
Part of Festival, subculture, and community arts reporting guide
Community arts project reporting: how to cover one properly
How to report a community arts project by checking who decided, who was paid, what participants actually controlled, and who owns the finished artwork.
What to take away
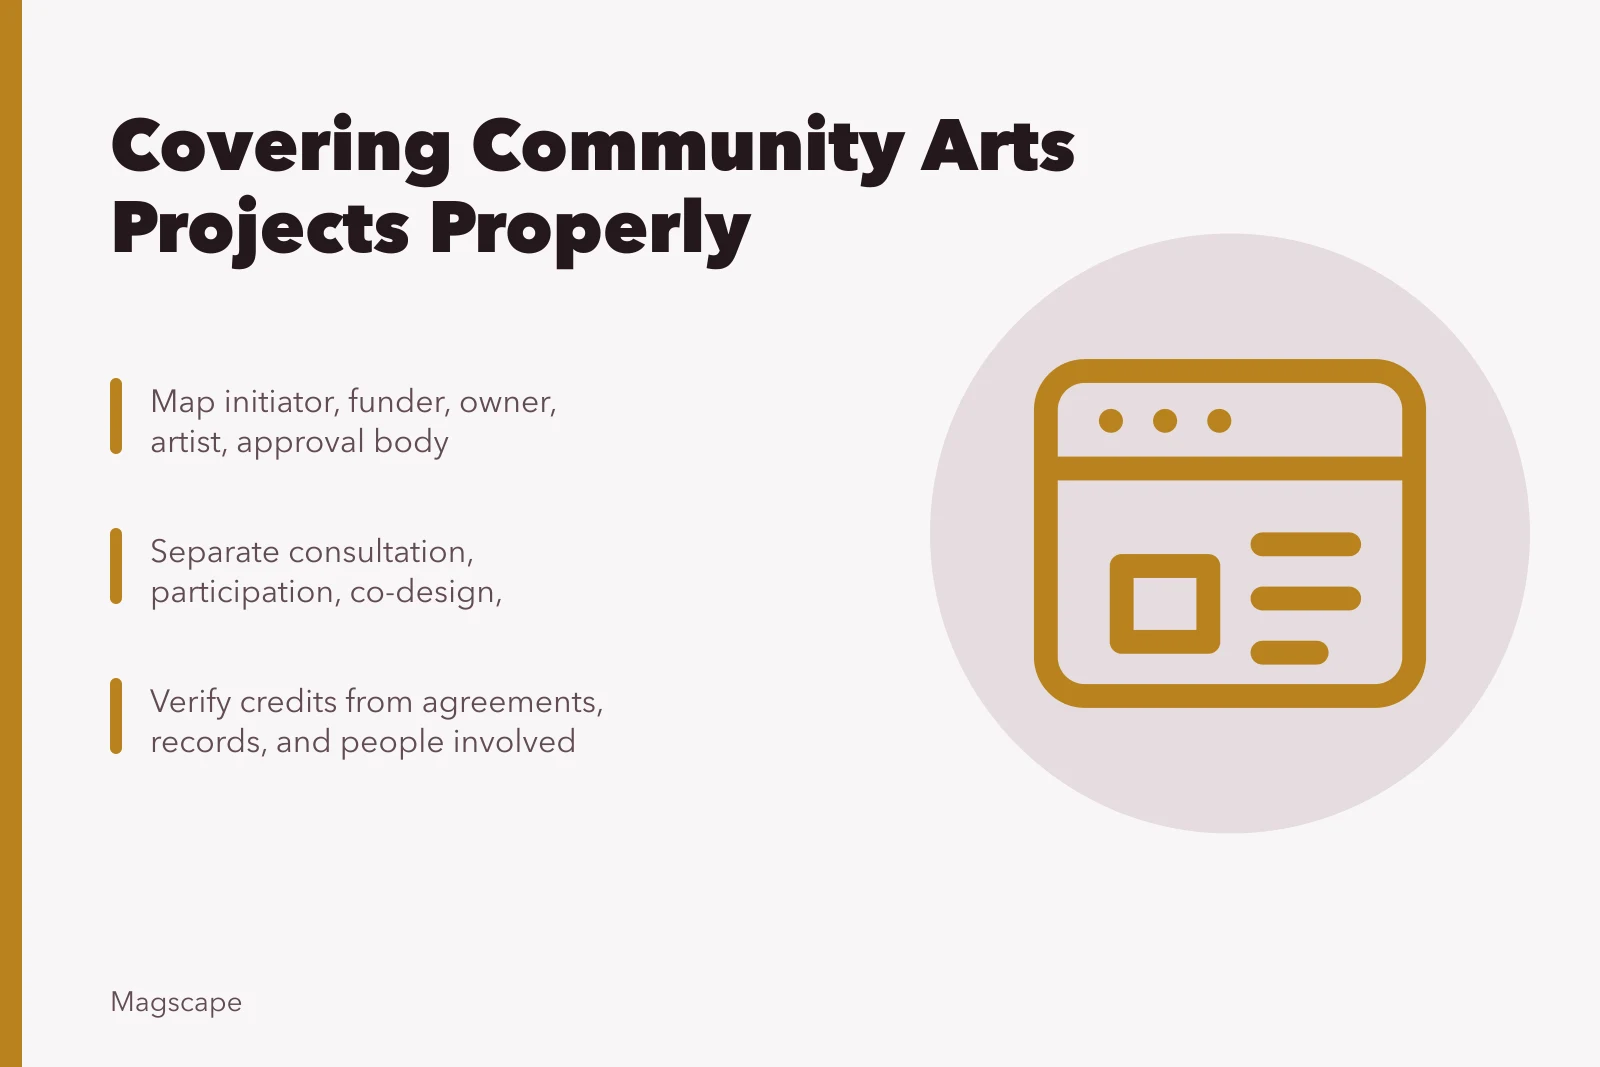
- Get the decision map before the first interviewinitiator, commissioner, funder, property owner, lead artist, approval body.
- Ask what participants could decide, not whether they were involved. Consultation and co-authorship are different credits.
- Pull the papercalls for artists, contracts, permits, credit lists, releases, condition reports, maintenance plans.
- Attend a workshop or a fabrication day, not only the unveiling. The process is the story.
- Check who owns the work, controls images, and can approve repair, alteration or removal.
A community arts project can be a resident-designed mural, artist-led workshops, a neighborhood performance, a shared archive, or a commission with public consultation. The label describes none of that on its own. Report the process.
Photo and credit
The photograph documents the mural's appearance and street setting on one date. It does not establish ownership, permission, later condition, or the history of the wall.
Draw the decision map first
Roles and parties involved in a project:
Project decision map
- Initiator proposes idea
- Commissioner approves scope
- Funder pays budget
- Property owner grants access
- Lead artist designs
- Participants contribute
- Approval body signs off
Ask what "community" means in the project documents. It may mean residents inside a boundary, students at a school, or members of an association. It may also mean users of a service, a language group, or open session attendees. State how people were recruited, and who could not take part.
Build the time line
A separate idea, funding, artist selection, and consultation:
Project timeline stages
- Ideaseparate idea from funding
- Fundingsecure budget and contracts
- Artist selectioncall and choose artist
- Consultationworkshops and design approval
- Fabricationbuild and install work
- Launchunveiling and credit
- Maintenancerepair, alter, or remove
Pull calls for artists, contracts, budgets, and meeting notes. It also covers workshop materials, design drafts, permits, and invoices. It further covers credit lists, releases, condition reports, and maintenance plans. Mark confidential terms instead of implying access you did not have.
Watch a session, not just the launch
Attend more than the unveiling. Record who sets the agenda, asks questions, translates, and supplies materials. Record who makes marks, edits proposals, resolves conflict, and documents sessions. Record who signs off.
Session power and results
Listening session
- Who joined
- invited residents
- Decision power
- advisory
- Recorded result
- themes summarized
Design workshop
- Who joined
- registered participants
- Decision power
- option selection
- Recorded result
- preferred draft
Fabrication
- Who joined
- paid team
- Decision power
- technical choices
- Recorded result
- installed panels
Watch a session
| Activity | Who joined | Decision power | Recorded result |
|---|---|---|---|
| Listening session | invited residents | advisory | themes summarized |
| Design workshop | registered participants | option selection | preferred draft |
| Fabrication | paid team and apprentices | technical choices | installed panels |
That table stops a workshop photograph from becoming proof of co-authorship when the session supplied consultation only.
Interview across the power line
Ask organizers why the project exists, artists what participation changed, residents what they could decide, participants how consent worked, and property staff what happens after launch. Give people room to describe disagreement without turning it into spectacle.
Consent and interview checklist
- Explain publication and recording
- Explain image use and identification
- Follow cultural documentation guidelines
- Apply guardian rules for minors
- Collect minimal identifying detail
Explain publication, recording, image use, and identification before you start. The Library of Congress cultural documentation guidelines cover these topics:
- project planning
- research ethics
- interviewing
- field notes
- recording logs
- participant permissions
- release forms
- collection management They treat consent from people sharing stories and knowledge as a practical responsibility, not a formality.
For minors, follow guardian and institutional rules and the young person's own willingness. Collect no more identifying detail than the article needs.
Verify credit and rights
Record who created the concept, the imagery, the text, the design, and the fabrication. Record performance, photographs, and documentation too. Do not assume the funder or the property owner holds copyright, and do not let a collective credit erase named contributors.
The U.S. Copyright Office's study of moral rights describes attribution (being credited as the author) and integrity (preventing prejudicial distortion of a work) as rights personal to an author. The Visual Artists Rights Act protects them in part.
Ask who may reproduce images, sell merchandise, approve adaptations, or repair the work. Ask who may move it, paint over it, or license documentation.
Report the agreement; do not hand down a legal conclusion the evidence cannot carry.
Return after installation
Go back if you can. Watch routes, gathering, interpretation, weathering, and vandalism. Also watch repair, lighting, access, and neighboring use. Ask whether promised programming, maintenance, and payment actually happened.
Community response is not one number. Document the method behind these sources:
- surveys
- attendance
- petitions
- public comments
- interviews
- social posts A loud dispute can matter without representing a majority.
Write the process, not the slogan
Open on a revealing decision or encounter. Then explain the need, the power structure, the participation method, and the artistic choices.
Then explain the labor, the conflict, the result, and who is responsible next.
Attribute claims like "community-led," "revitalizing," or "healing" and test each against the process you observed.
For recurring events, seasonal programs, and grassroots scenes:
- Festival, subculture, and community arts reporting guide extends this approach to lineups, permits, and audience claims.
Common questions
Does participation make someone a co-author?
Not automatically. Report the actual creative contribution and what the agreement says about credit. A person who chose between two drafts made a different contribution from one who drew the draft.
Should budgets be included?
Include verified totals and categories when they clarify power, payment, or public spending. If a figure is not published and no one will confirm it, say so rather than estimating.
Can workshop photos prove broad support?
No. They show who was visible at one session, subject to identification and consent. Attendance counts, sign-in sheets, and surveys are separate evidence with their own limits.
What if the work is later removed?
Report who authorized removal, what the agreement allowed, how artists and participants responded, and what documentation survives. A withdrawn loan or a repainted wall is a correction to the record, not the end of it.