Guides
Part of Museum and exhibition reporting: a field guide
How to report a museum visit step by step
Museum visit reporting method for planning a route, taking object and label notes, testing curatorial claims, assessing access, and writing a precise story.
What to take away
- Prepare a compact fact sheet, but leave room for the visit to change the story.
- Make one orientation pass before stopping at the objects that carry the exhibition's argument.
- Copy exact label language when a claim, attribution, or omission will appear in the draft.
- Describe access features you used or verified, and state the limits of your test.
- Finish the visit with a missing-evidence list while the galleries are still close at hand.
A productive museum visit is neither a guided shopping trip for quotations nor an attempt to record every object. The aim is to gather enough specific evidence to explain how the exhibition works. This method produces a route map, a claim log, close observations, and a short list of questions for later reporting.
Photo and credit
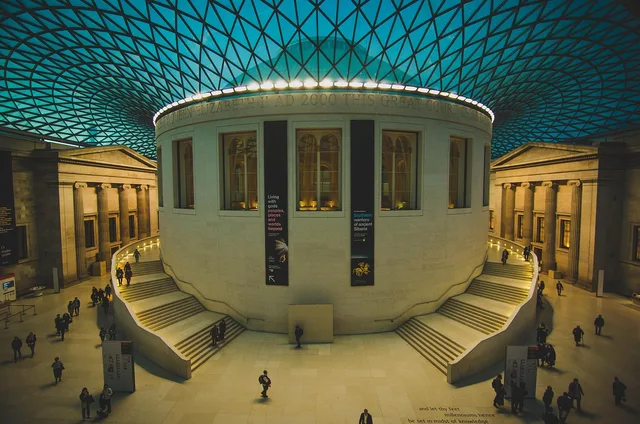
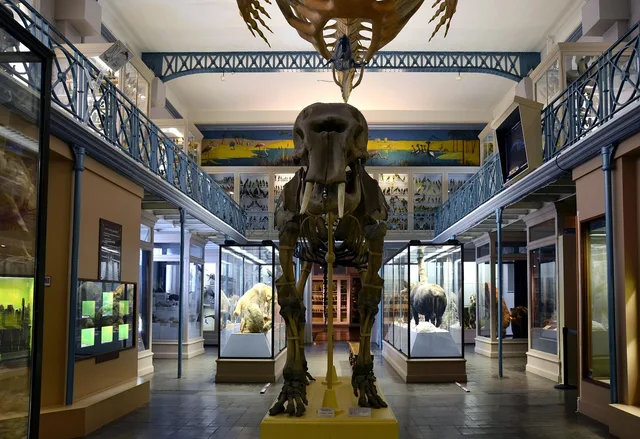
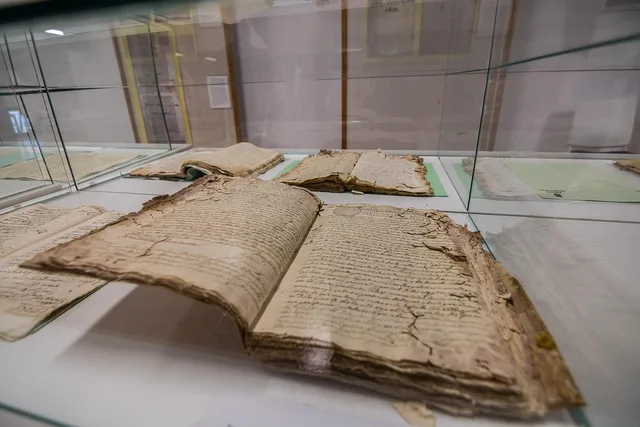
The photograph is a visual example of cases, labels, light, objects, and circulation. It does not represent the visit workflow below.
Step 1: Prepare a one-page brief
Before arrival, record the official title, dates, venue, organizer, credited curators, reservation rules, photography policy, known closures, and public access information. Read the exhibition description once. Extract its main claim in your own words, then save the official wording for comparison.
Pre-visit brief checklist
- Official title, dates, venue, organizer
- Credited curators and reservation rules
- Photography policy and known closures
- Public access information
- Main claim in your own words
- Official wording saved for comparison
- Unsettled facts as reporting questions
List the facts that cannot be settled by looking: loan status, provenance, conservation decisions, design authorship, funding, community consultation, or earlier label language. These become reporting questions rather than guesses.
Step 2: Make an orientation pass
Walk the available route without stopping for long. Sketch the room sequence and note the first sight line, turning points, thresholds, seating, sound spill, crowded zones, and final object. Mark doors that appear usable and routes that do not. Do not assume an apparent barrier is an access failure until you check the intended route and current conditions.
Orientation pass sequence
- Walk the available route without stopping
- Sketch room sequence and first sight line
- Note turning points, thresholds, seating, sound
- Mark usable doors and blocked routes
- Answer the three story questions
At the end of the pass, answer three questions:
Make an orientation pass
- What story does the sequence appear to tell?
- Which three to five objects or stations carry that story?
- Where does the installation complicate or weaken its own premise?
Step 3: Build an object-and-label log
Return to the decisive objects. Copy the displayed maker, title, date, material, lender or collection, accession number, attribution terms, and label claim. Add a room location and the names of nearby works. Record what the object looks, sounds, or feels like at the permitted viewing distance.
Use separate columns for text and observation:
Object-and-label log
| Record | Example of the distinction |
|---|---|
| Label says | The curator links two works through migration and trade |
| Visitor can observe | The works face each other across a narrow passage |
| Reporter must verify | The stated route, date, ownership history, or translation |
| Writer interprets | The placement makes exchange feel reciprocal or unequal |
Do not silently repair a confusing label in your notes. Preserve the wording and punctuation needed to evaluate it fairly.
Step 4: Assess interpretation and access
Test whether introductory text, section panels, object labels, captions, audio, and digital stations serve different jobs. Check type size, contrast, glare, reading height, line length, seating, captions, transcripts, and whether a screen can be reached and operated from different positions.
Interpretation and access checks
- Type size, contrast, glare, reading height
- Line length, seating, captions, transcripts
- Screen reachable and operable from positions
- Ask staff for large-print and audio description
- Record what required a request
- Note what you did not test
The Smithsonian's Guidelines for Accessible Exhibition Design addresses exhibition labels, alternative formats, audiovisual material, objects, circulation, seating, lighting, and other design elements. Use such guidance to form precise questions. Do not claim that a whole venue is accessible after checking one gallery or one route.
Ask staff where full label text, large-print copies, audio description, captioning, tactile material, sensory guidance, or step-free alternatives can be found. Record what was available during your visit, what required a request, and what you did not test.
Step 5: Make a second, selective pass
Revisit the objects that now matter most. Check whether your first reading survives slower attention. Look for counterexamples and works that resist the exhibition's categories. Note empty mounts, changed labels, substituted objects, or screens that were offline. Ask a staff member for factual clarification when appropriate, but identify their role and do not treat an informal answer as institutional policy.
Before leaving, photograph the entrance title and practical notices if permitted. Record the time, crowd level, unavailable rooms, and any event that changed normal circulation.
Step 6: Close the evidence gaps
Within an hour, expand abbreviations and mark direct quotations. Separate confirmed facts, pending facts, interpretations, and questions. Contact the relevant museum staff with a short, numbered request. Give a deadline and explain which statements need a response.
Compare displayed object data with collection records or the catalog. Institutions keep those records deliberately. The National Park Service's handbook on museum records sets out procedures for accessioning, cataloging, inventory, loans, and deaccessioning. That is why a registrar can usually answer a precise object query.
If display and record differ, ask whether the display reflects an updated attribution, a shortened label, or an error. Do not choose the version that best fits the story.
Step 7: Draft around evidence
Open with a specific encounter that expresses the main argument, not a generic description of entering a museum. Move between close observation and context. Every broad judgment should rest on a visible choice, a verified record, or a clearly attributed statement.
End by telling readers what the exhibition permits them to see, understand, or question. Include the visit date when a changeable condition matters.
Common questions
Should a reporter follow the numbered route?
Follow it once if it is part of the curatorial design. A later pass can move selectively among the objects that need closer study.
How many objects should appear in the article?
Use only the number needed to support the argument. Three closely described works can do more than a catalog-like list of twenty.
May a writer photograph labels for notes?
Only where the venue permits photography. Publication rights are a separate question.
What if a digital station is broken?
Record the date, station, and observable condition. Ask whether the failure was temporary before presenting it as a standing feature.